Upon installing the paid version of Cashflow, most users will want to migrate their data from the free version to the paid version. This step-by-step guide will assist users in making the transition. Once the paid version has been installed, follow these steps:
Backup Cashflow (Free)
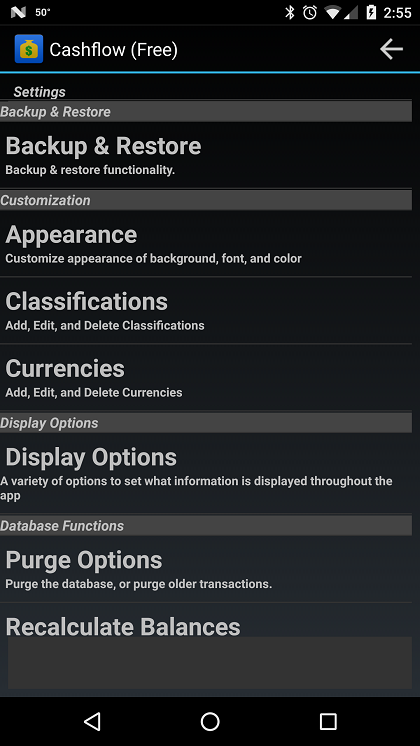
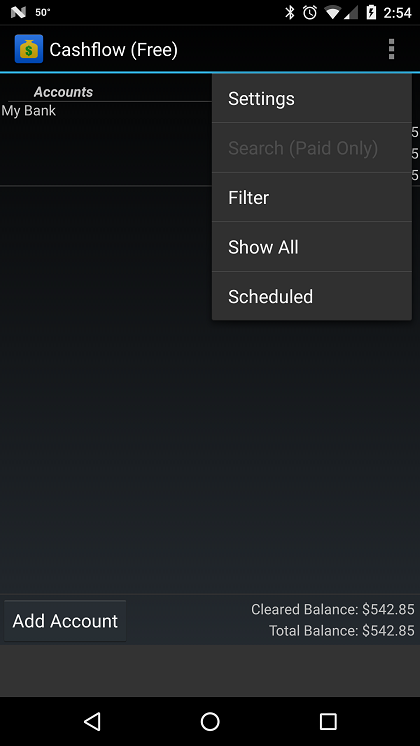 Open Cashflow (free) and press the Menu button from the Accounts screen. Select ‘Settings’. From the Settings screen select ‘Backup & Restore’.
Local Storage or Dropbox?
 The Backup & Restore menu gives you two choices. Local Backup & Dropbox. If you have a Dropbox account and have the Dropbox app installed on your phone, you can use the Dropbox option, otherwise use the Local Storage option.

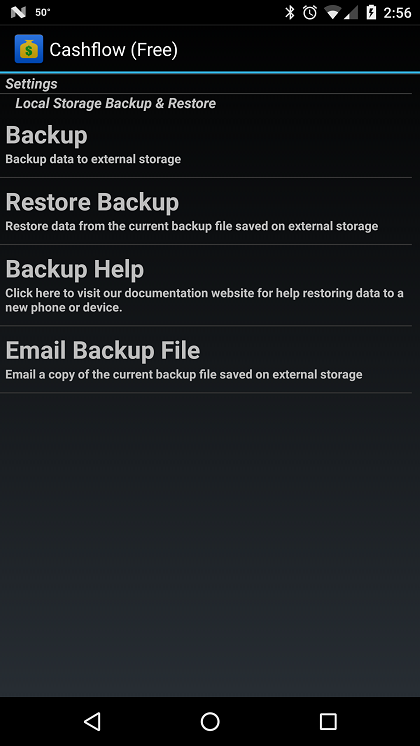 Both the Dropbox and Local Storage screens have similar options. Click the Backup button and wait until the backup is complete. Once the backup is complete, exit Cashflow (Free) and Cashflow.
Open Cashflow (the paid version)
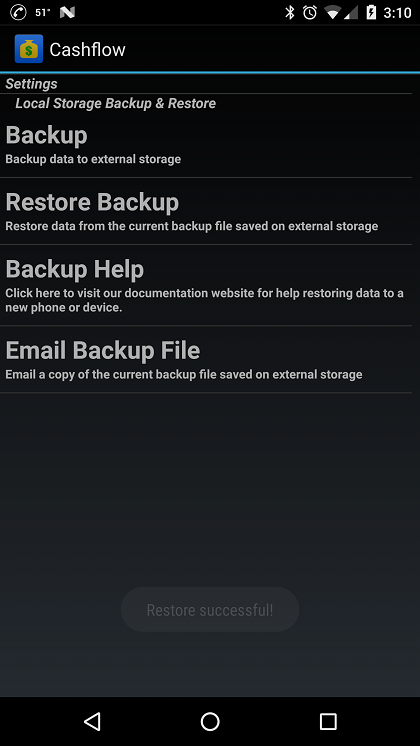
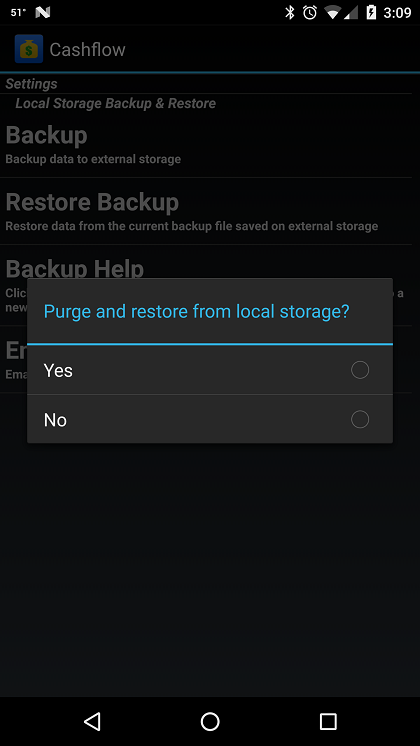 From the Accounts screen in Cashflow, press the Menu button and select ‘Settings’. Scroll down the Settings screen and select ‘Backup & Restore’, then select either Local Storage or Dropbox (based on what you used when backing up the free version). You’ll be prompted to confirm that you want to purge the database and restore from the backup we created earlier. Select ‘yes’. The restore can take several minutes, so be patient.
Once complete, exit the Settings screen and verify that your data now appears on the Accounts screen.