One of the most useful features in an electronic check register is the ability to setup scheduled, recurring, transactions. This guide will walk you through the various options we offer with this functionality.
Accessing the Scheduled Transactions Screen
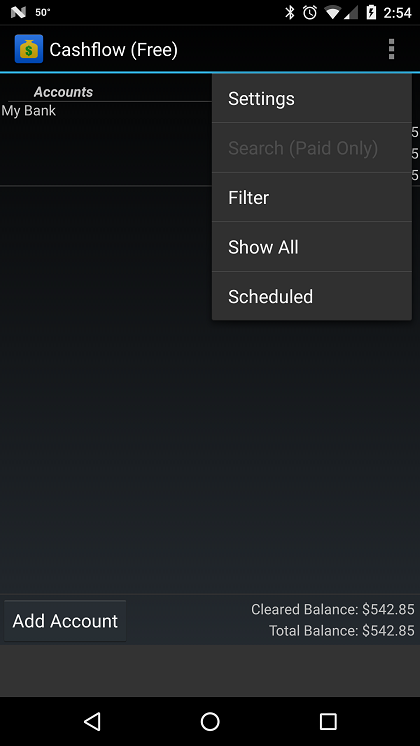
![]() You can access the Scheduled transactions screen by pressing the menu button and selecting the Scheduled menu option from either the Accounts screen or the Transactions screen.
You can access the Scheduled transactions screen by pressing the menu button and selecting the Scheduled menu option from either the Accounts screen or the Transactions screen.
Adding Scheduled Transactions
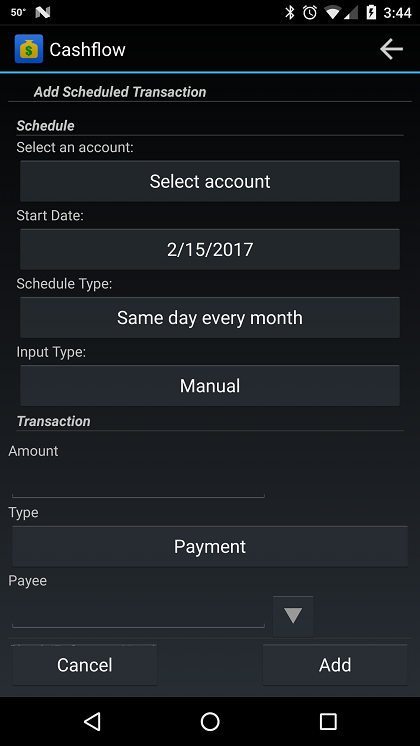
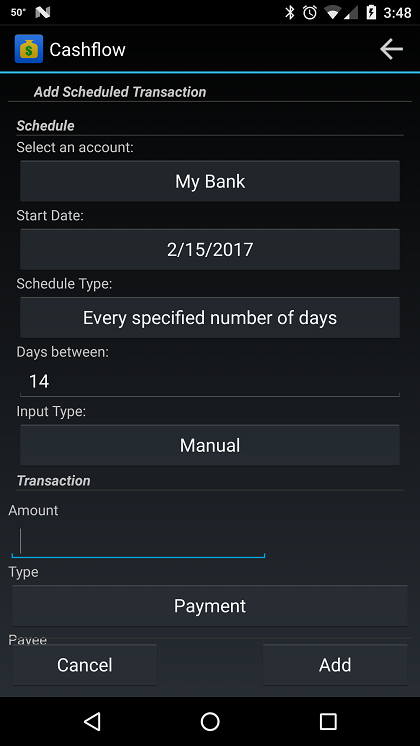
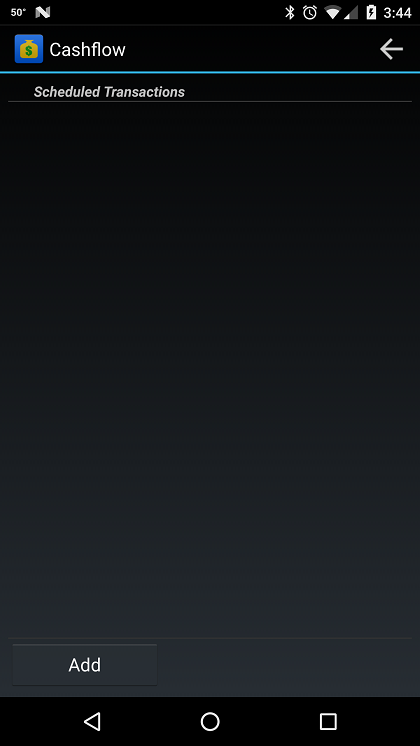 The scheduled transactions screen will display all of your scheduled transactions. If this is your first time using this feature, your screen will be blank. Click the Add button to create a scheduled transaction. The Add Scheduled Transaction screen will load. This screen is the same screen used to add a transaction to the register with the addition of a Schedule section.
Setting Up Scheduled Transactions
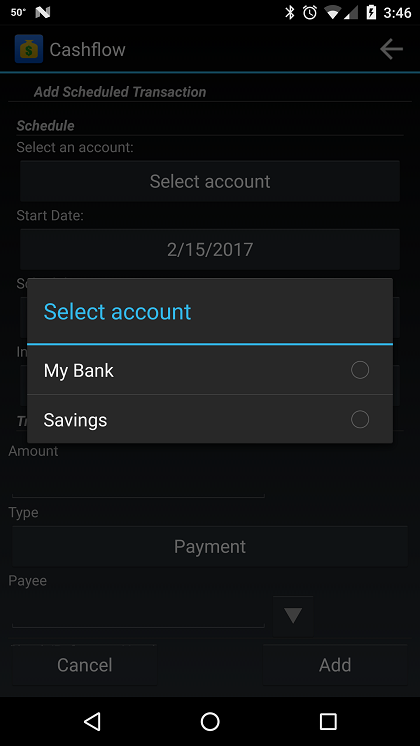 The schedule section gives you several options. To begin with, you’ll need to specify the account that the scheduled transaction will be entered into. To do this, simply click the button labeled ‘Select Account’ and select the appropriate account from the pop-up menu. The second step is to select a start date for this recurring transaction. The start date will be the date for the first instance of this transaction, once it’s entered into your account register. For example, if your rent payment is sent automatically from your internet banking on the first day of the month, and the next payment will be made on the first of May, 2011, we’d enter 5/1/2011 by clicking the ‘Set Date’ button.
Schedule Type
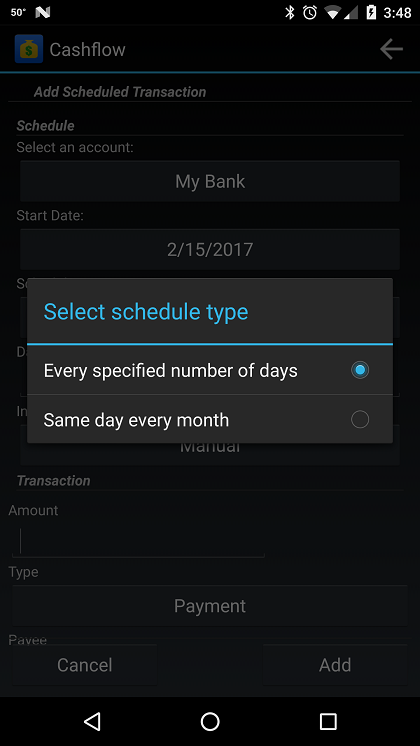 The next step is to set a Schedule Type. This allows you to dictate how often the scheduled transaction occurs. You can access a selection menu by clicking the ‘Schedule Type’ button. There are two options here, ‘Every specified number of days’, and ‘Same day every month’. The first option allows you to specify the number of days between occurances. For example, if you get paid every two weeks, you may create a scheduled transaction for your paycheck, selecting ‘Every specified number of days’, and set the interval to 14 days. In this example, we’re setting up a monthly rent payment, so we’ll select ‘Same day every month’.
Input Type
 The input type can be set by clicking the ‘Input Type’ button. This will allow you to specify when and how the transaction will be entered into the register.
The first option is ‘Manual’. When using an input type of Manual, the application will not automatically enter a transaction into your register. Instead, you will have to open the Scheduled Transactions screen and long-click on the transaction until you get the menu with allows you to ‘Enter Next Transaction’.
The second option is ‘Specified days before’. Using this option, you can set a number of days prior to the next instance of the transaction that you’d like to have it automatically entered into the register. For example, if you select this option and enter 14 days for your rent payment due on 5/1/2011, the application will enter the rent transaction with a transaction date of 5/1/2011 into your register on 4/17/2011, 14 days before the transaction is scheduled to occur. This is the option most users will select. The input interval can be anything from 0 days (transactions appear on their transaction date), up to many years in advance. If you like to have Cashflow project your balances a month in advance, you can specify an input interval of 30.
The third option, ‘On each interval, for the next interval’ really is redundant. You can get the same functionality from the previous option. This option simply enters the next scheduled transaction every time the scheduled transaction date passes. For example, if we were setting up a paycheck transaction for every 14 days, this option would enter your next paycheck (two weeks in advance) every payday.
Scheduled Transaction
 The last step in creating a scheduled transaction is entering the transaction details. This works the same way as a normal transaction, setting the amount, type (payment, deposit, transfer, adjustment), payee, etc.
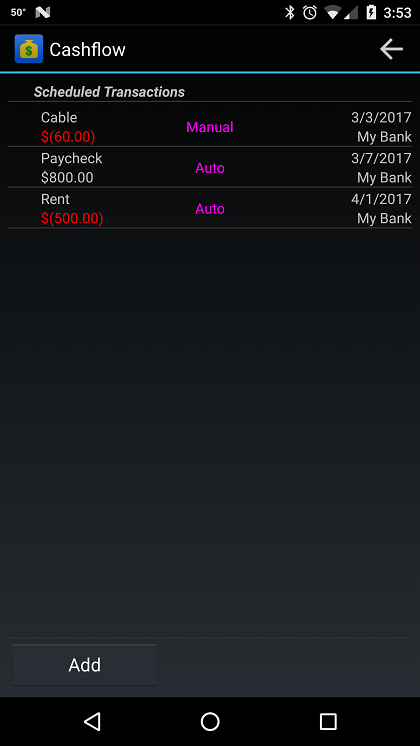
In this example, created on 2/1/2017, we’ll set up the following scheduled transactions:
* Rent, $600, scheduled for 3/1/2017, same day every month, input type: specified days before (30).
* Paycheck, $800, scheduled for 2/7/2017, every two weeks, specified days before (30)
* Cable Bill, $60, scheduled for 3/3/2011, same day every month, input type: manual
By the time we enter each of these transactions in order, the application will have entered our next rent payment and next two paychecks into the register. The scheduled transactions screen shows each scheduled transaction, it’s input type as either ‘Auto’ or ‘Manual’, the account it will be entered into, and the next transaction date to be entered.
Manual Scheduled Transactions
To manually create the next instance of a scheduled transaction, click and hold on a transaction until the pop-up menu is displayed. Select ‘Enter next’. This works for scheduled transactions set with an input type of ‘Auto’ as well as ‘Manual’.
Deleting & Editing Scheduled Transactions
To delete a scheduled transaction, simply click and hold on a transaction until the pop-up menu is displayed. Select ‘Delete’. This deletes the schedule, but will not remove any entries already entered into your register. Likewise, if you elect to edit a scheduled transaction, resetting the schedule does not affect transactions already entered into your register.
Other Considerations
Scheduled transactions will generally be processed any time the application recalculates it’s balances. This occurs whenever a transaction (or scheduled transaction) is entered, reconciled, or otherwise changed. This will also occur any time the application is opened for the first time each day. Each time the recalculation process runs, only one instance of a scheduled transaction will be entered. If a user sets an input interval that would dictate that multiple instances of a transaction will need to be entered, this entry will occur each time the recalculation process runs, until all entries are created. For example, if a user enters a monthly rent payment with an input interval of 365 days, it will take 12 occurances of the recalculation routine before the next 12 transactions appear in the register.